Renderitis documentation
Managing presets in renderitis is done through the popup menus. The renderitis script supports a limited amount of maxversions and render-engines. This will change in the future, but for now only scanline and vray are supported.
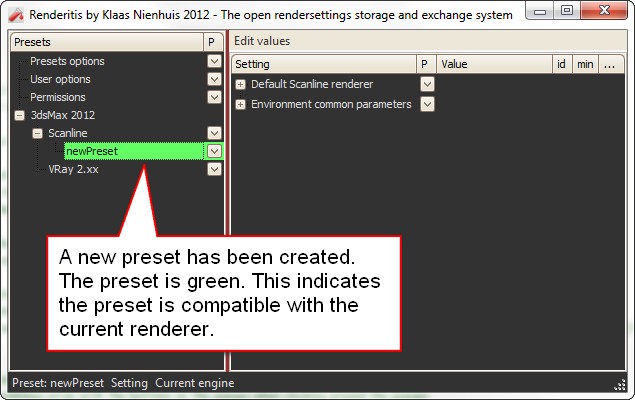
You can only create new presets for the current scene-renderengine. A new preset is created by recording all render-settings and environment-settings from the scene and storing them in an xml-file. Materials are stored in a matlib. Bitmap-textures are not moved. All options are available through the popup-menus indicated with the small downwards-pointing arrows. It was a bit easier for me to implement the menus in this manner.
Adding a new preset
You can add a new preset for the current renderengine. In this example we’ll switch the current renderengine to scanline by using the renderitis-script. After that you can create a new preset.


Editing the name of a preset
You can edit the name of the preset from within the script. This makes it easier to manage multiple presets at the same time.

Remove presets
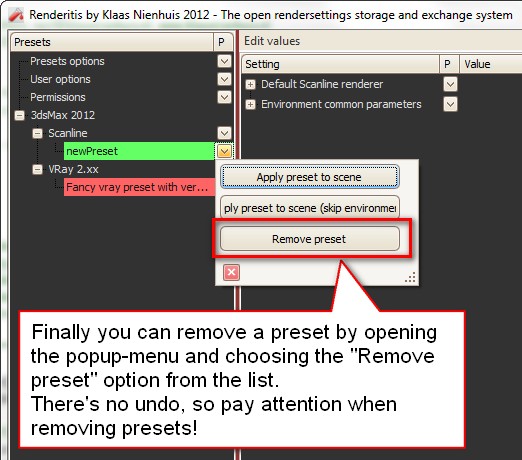
Besides adding and editing, you can remove presets from the script. Keep in mind that there’s no undo!


